|
|
  
|
||
|
|
|
||
To install the Plug-in you will first have to manually configure the ini file found in the installation. This should be located in the Entrprse folder of your Exchequer installation.
Right-click on the file and select Open With...
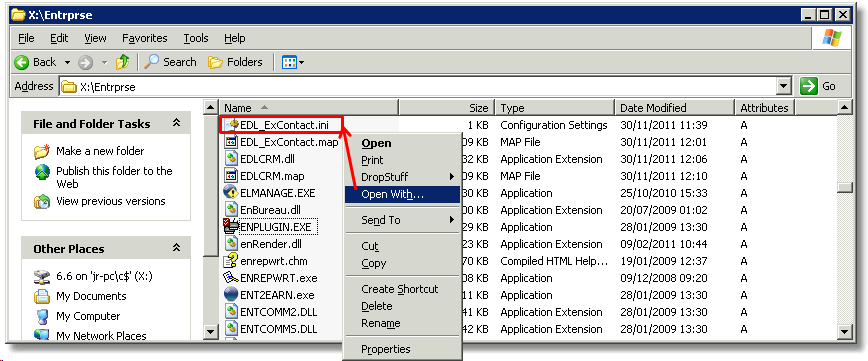
Select Notepad from the list and click OK:

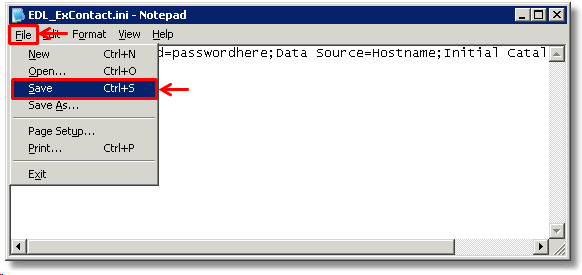
You will need to edit the text in here dependent on your database authentication mode.
If you use Windows Authentication, then please change the text to the following phrase, replacing the text in red where necessary:
Hostname;Initial Catalog=ExContact;Integrated Security=SSPI
If you are using SQL Authentication then you will have to change the text to the following, again, replacing the text in red where necessary:
User ID=sa;Password=passwordhere;Data Source=Hostname;Initial Catalog=ExContact
Once you have done this, click the file button and select Save from the drop-down menu.
You can now install the Plug-in.
To install the Plug-In you will first need to run the Exchequer Customisation Setup.
To do this, open a window and open the root of your selected Exchequer drive.
In the example below the selected drive is X:
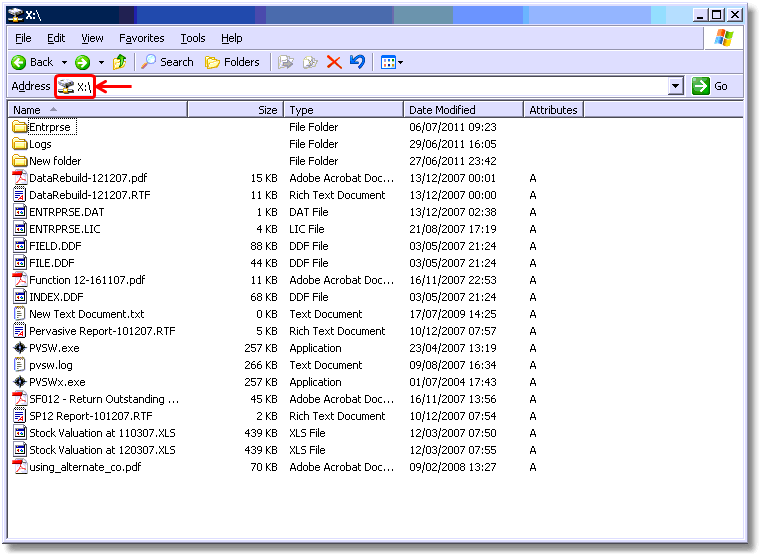
Once you have located the root folder, open the Entrprse folder and run the executable: ENPLUGIN.EXE.
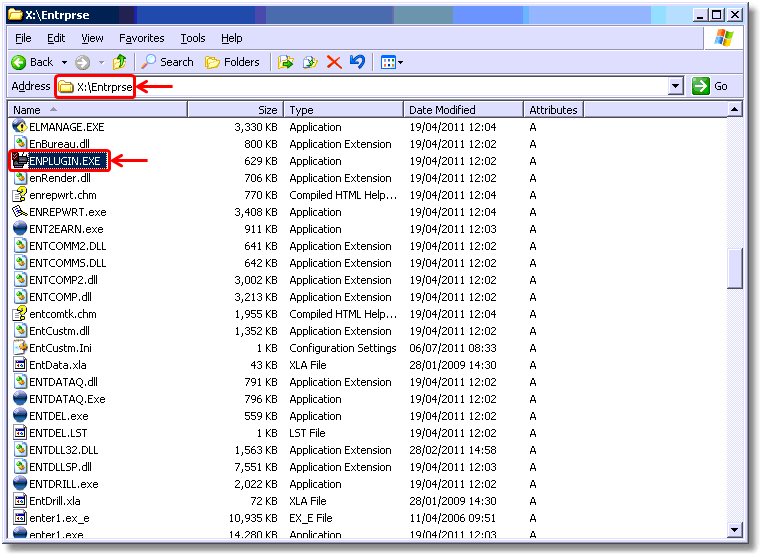
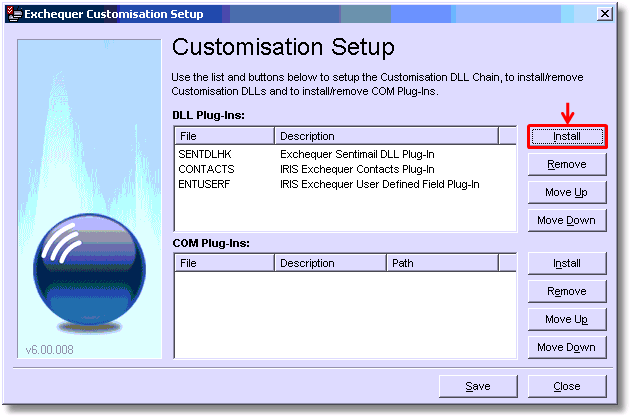
This will open the customisation setup, which allows you to add and remove both DLL and COM Plug-Ins.
To install the Plug-In, click the Install button on the right hand side of the window as shown below:
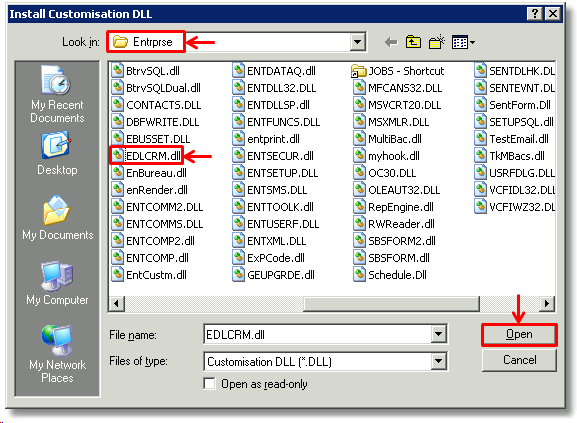
In the window that opens, navigate to the 'Entrprse' folder of your mapped Exchequer drive (as we did a a couple of steps ago).
Within this folder, select the EDLCRM.dll and click Open:
You will now see the EDLCRM item added to the Plug-Ins list.
Click the Save button and the Close button.
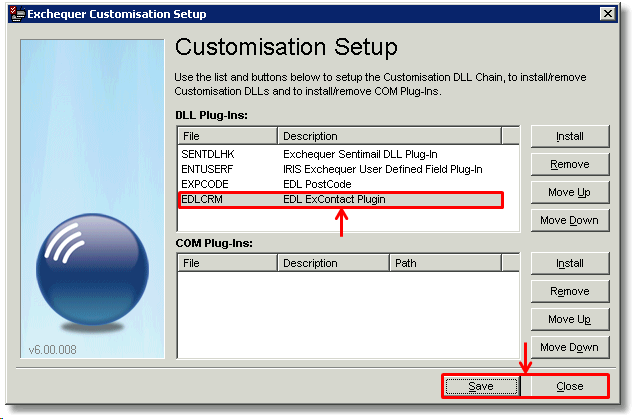
Ex-PCode is now installed.
In order to check the installation correctly, open Exchequer as you normally would.
When Exchequer has loaded, open the Help menu and click About as shown below:
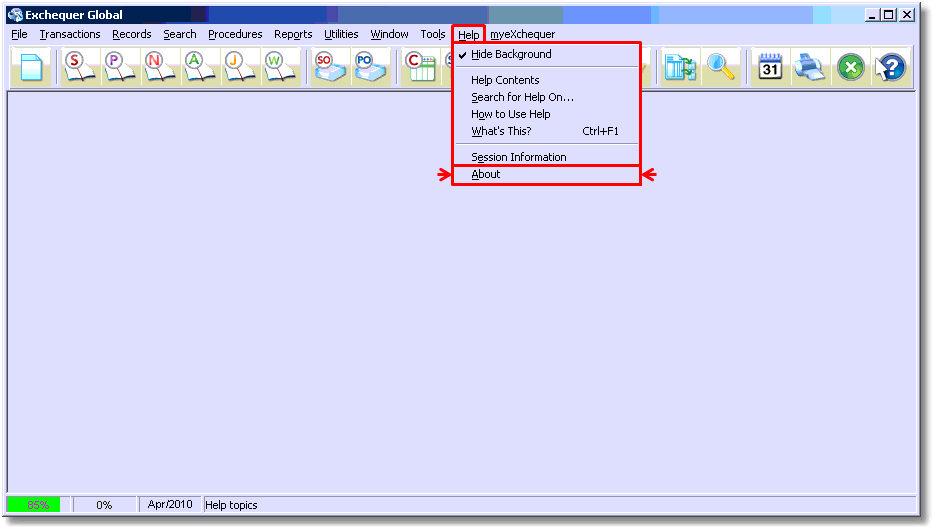
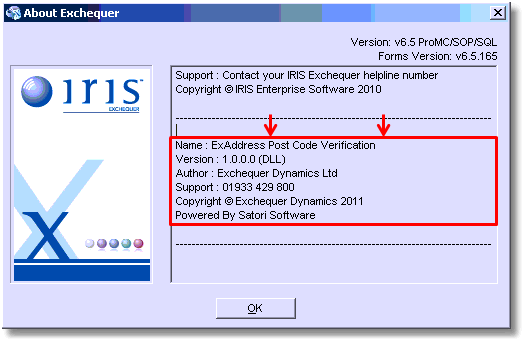
This will open the About Exchequer Window, which provides details for all Plug-Ins used.
In order to see this, click anywhere within the box shown so that the cursor starts flashing within it, as shown next to ESN below:
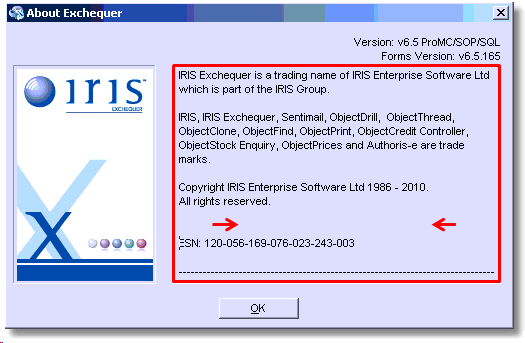
Once you have done this, press the down arrow key on your keyboard to scroll down to the bottom.
You will see that the Plug-In has been correctly installed as it will appear in the list.
In this example we have installed the ExAddress Post Code Lookup software: