|
How to Use |
  
|
|
How to Use |
|
You can use the new contact manager in a number of ways.
This guide will feature examples and screenshots so that you can achieve a better understanding.
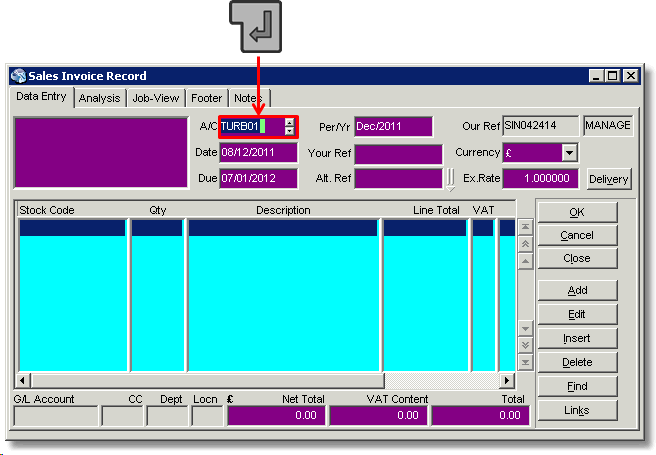
To use the contact manager to add a delivery address, simple type in the account code (A/C) you want to use and press the enter/return key.
In this example the A/C is TURB01.
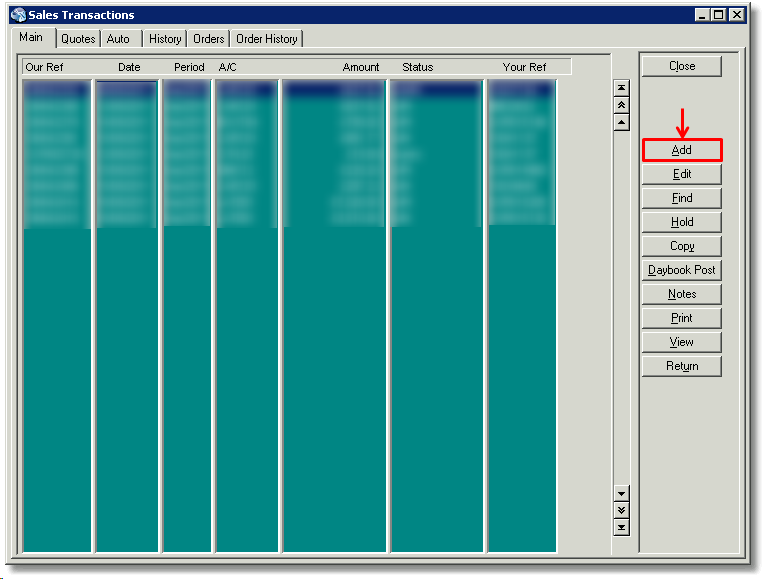
First, click Add to add the transaction:
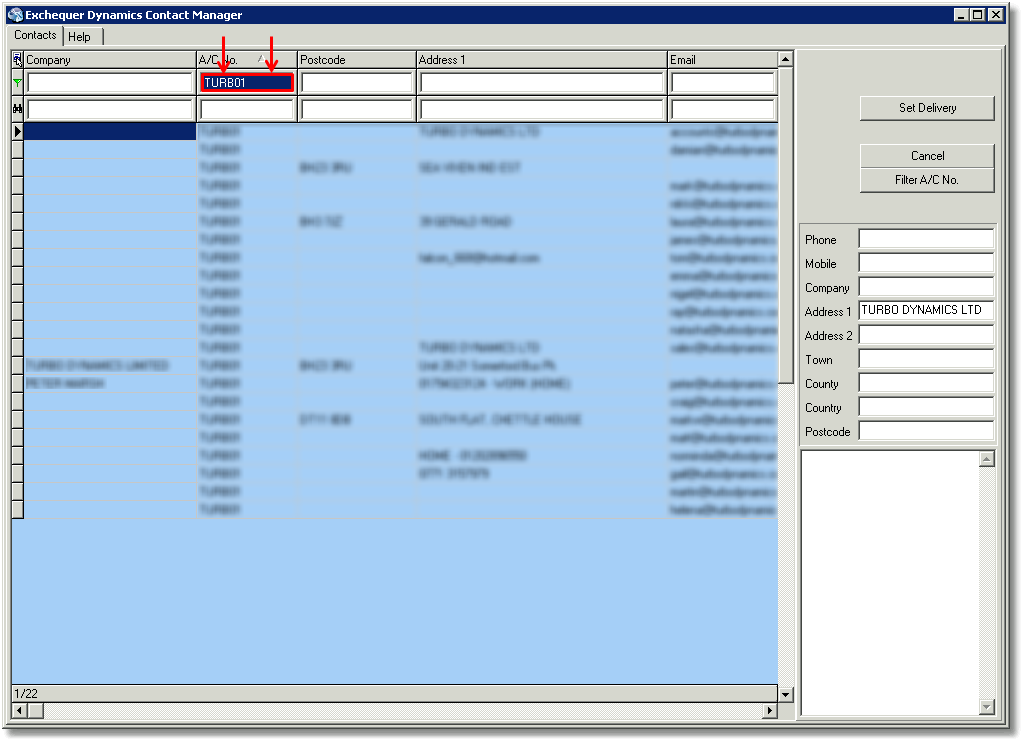
Once you have pressed the return/enter key the Contact Manager will pop up.
(Please note that at this point you can press the Escape key to enter the default delivery address for the company A/C.)
It will retain the A/C that you entered in memory and automatically filter out the contacts:
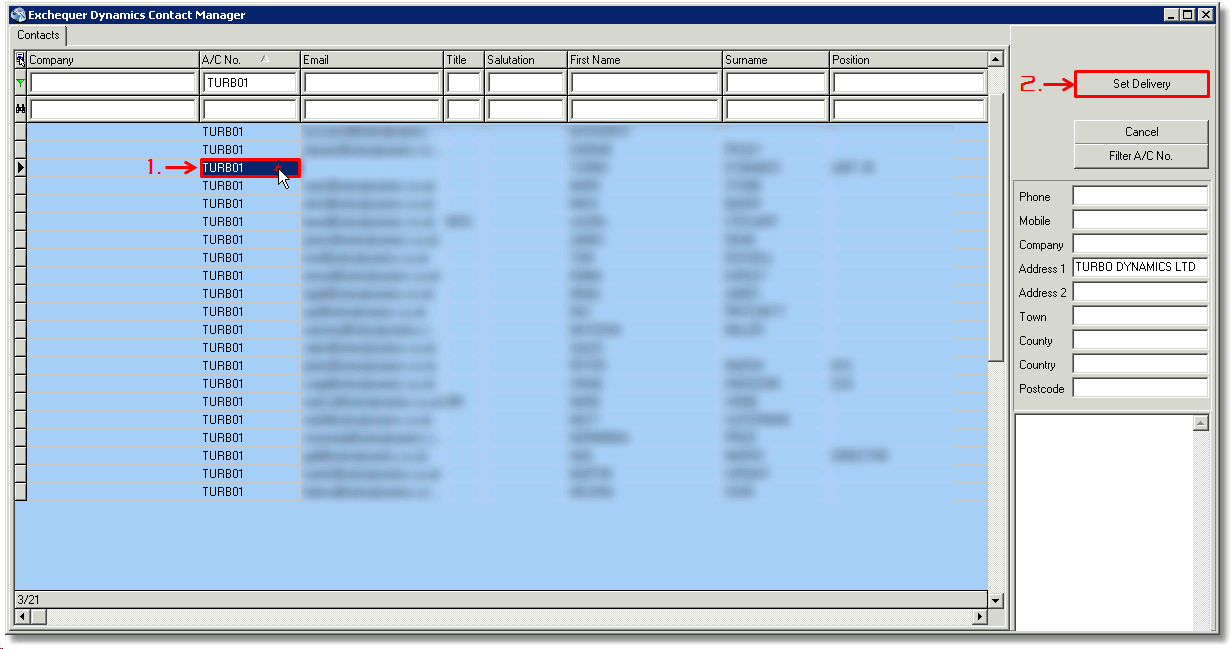
To enter the delivery address for the contact, simply click the contact and then select the 'Set Delivery' button:
The delivery address will now be set.
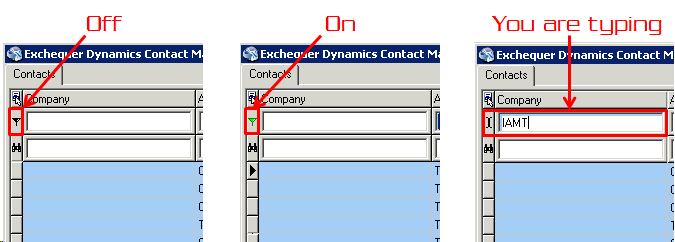
If you would like to use a different account address, simply click the 'Filter A/C No.' button and the filter will be turned off.
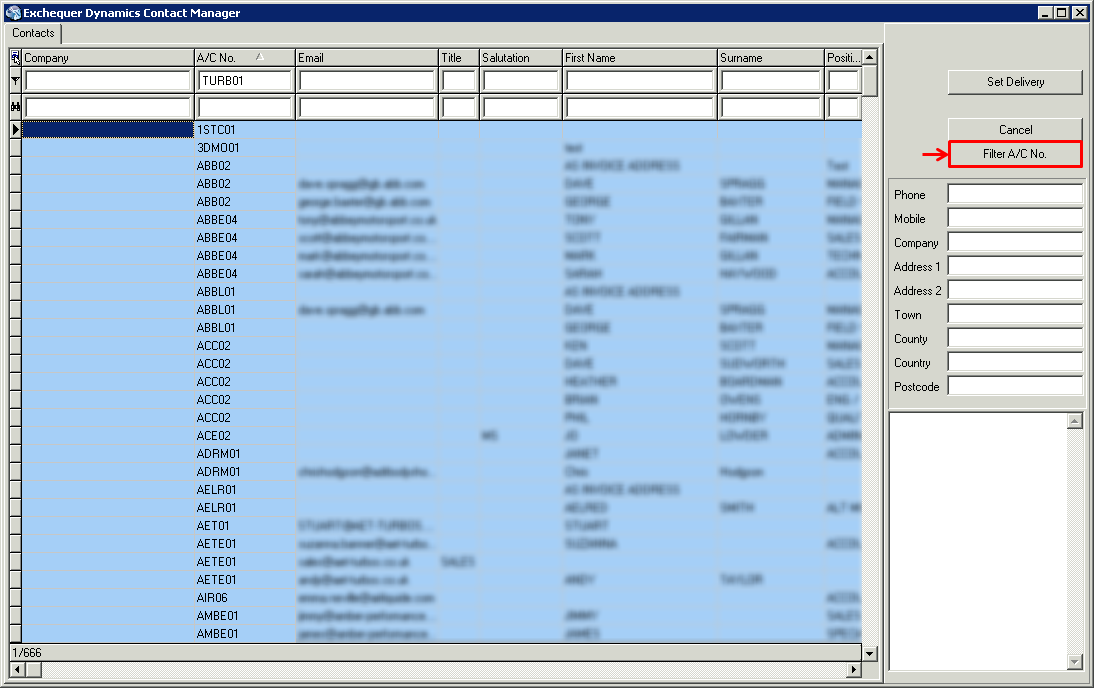
You can see that you have turned the filter is switched off by the indicator on the filter line turning black:
You can use the mouse to scroll through the records, by either using the scroll bar to the right and bottom of the grid or using the mouse wheel (if your mouse has one).
You can also use the Arrow keys:
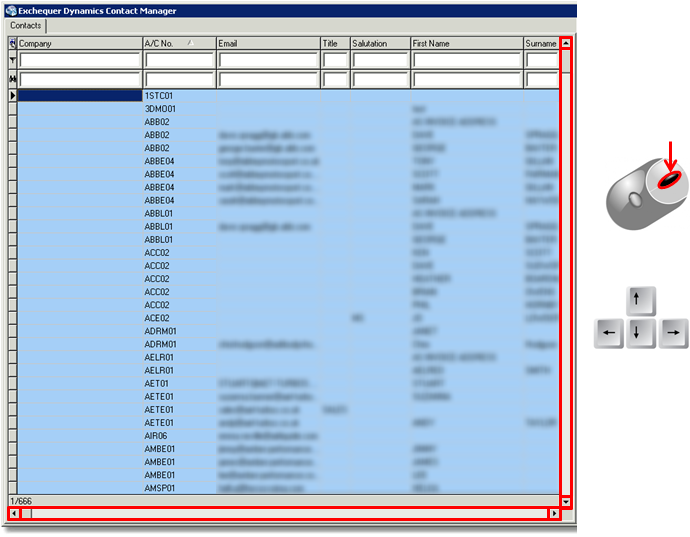
As you scroll through the records, the boxes on the right will automatically fill with details as shown below:
